
Set guides · 6 min read ·
How to Plan a Pokémon Master Set Binder
Plan a Pokémon master set binder before you buy: count cards and pages, place reverse holos and secret rares, pick a binder, and print what is missing.
A master set binder holds every version of every card in one Pokémon set: the numbered cards, the reverse holos and the secret rares. Plan it before you buy anything: count the cards, turn the count into pages, decide where reverse holos and secret rares go, and pick a binder that fits. A plan turns a big set into a list you can work through one pocket at a time.
Decide what your master set includes
Collectors use three levels, and the binder size depends on which one you pick:
| Level | What it includes |
|---|---|
| Main set | The numbered cards, up to the number printed on the card |
| Complete set | The main set plus the secret rares numbered past it |
| Master set | The complete set plus every reverse holo and other variants |
The edges vary. Some collectors add promos, holo energies or stamped prerelease cards to the master set; others keep those as a separate goal. Write down your own rule before you start, because it decides every number below.
Count the cards, then the pages
A 9-pocket page holds nine cards on one side. Divide the card count by nine and round up to get pages.
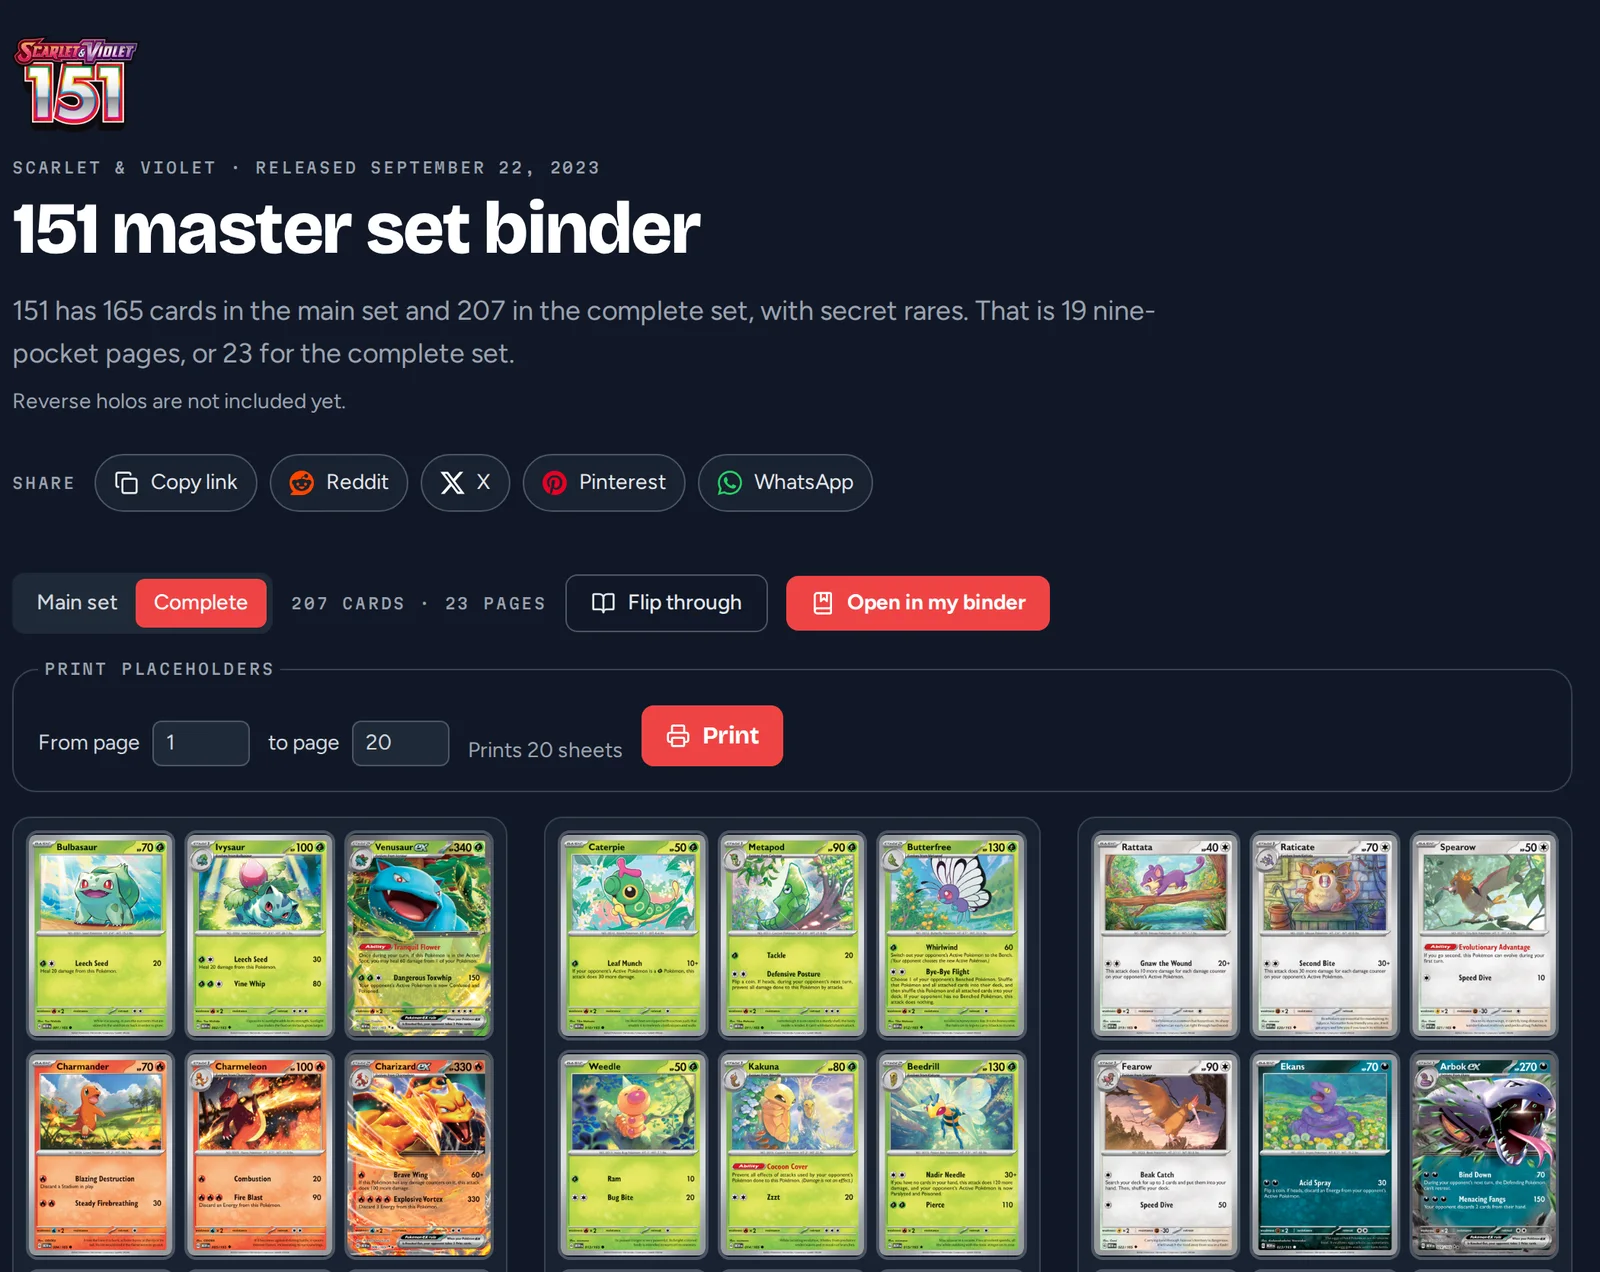
Take Scarlet & Violet 151 as the example. Its main set is 165 cards, and the complete set is 207 with the 42 secret rares. Every card from 1 to 165 has a reverse holo except the 12 Pokémon ex, so there are 153 reverse holos. That makes the English 151 master set 360 cards: 165 + 153 + 42.
At nine cards a side, 360 cards fill 40 sides: 20 double-sided binder pages, which is exactly one 360-card binder.
See 151 laid out as binder pages to check the counts against your own plan. The set pages show the main and complete counts for ten popular sets.
Choose a layout: number order, reverse holos, or full arts first
Number order is the default, but it is not the only way to lay out a master set. There are two common ways to handle reverse holos:
- Side by side. Each regular card is followed by its reverse holo, so a number takes two pockets. You see the whole set in one pass, and a gap shows at once which version is missing.
- Separate sections. The main set in number order first, then all reverse holos in number order. The first half reads like a normal set binder.
Side by side has one catch: a page has nine pockets, an odd number, so pairs do not always end at the end of a row or a page. In 151 the Pokémon ex cards have no reverse holo, and each one shifts the pattern by a pocket. Plan the first pages and check where the pairs break before you sleeve anything.
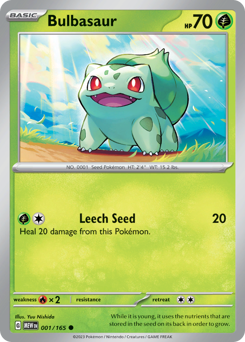
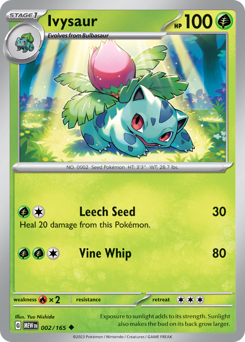
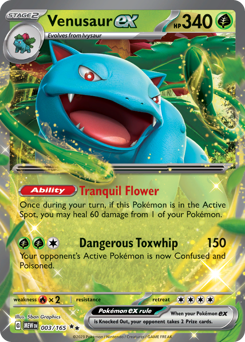
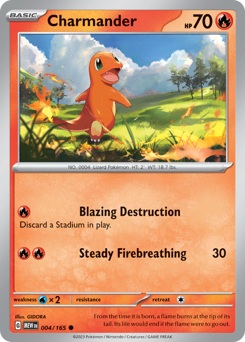
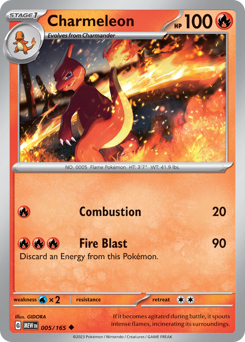
The first page of 151 shows the pattern: Venusaur ex has no reverse holo, so Charmander's pair starts in the middle of the second row.
Secret rares go at the end in both layouts, in number order. If your set has a subset, such as Hidden Fates' Shiny Vault or Crown Zenith's Galarian Gallery, give it its own section after the secret rares.
Or put the full arts first
A master set doesn't have to read like a checklist from page one. Two alternatives give the set a different perspective:
- Full arts first. Move the Illustration Rares, Special Illustration Rares and other full-art cards to the first pages, and keep the rest in number order behind them. The binder opens on the cards that make the set unique, and the checklist part is still complete.
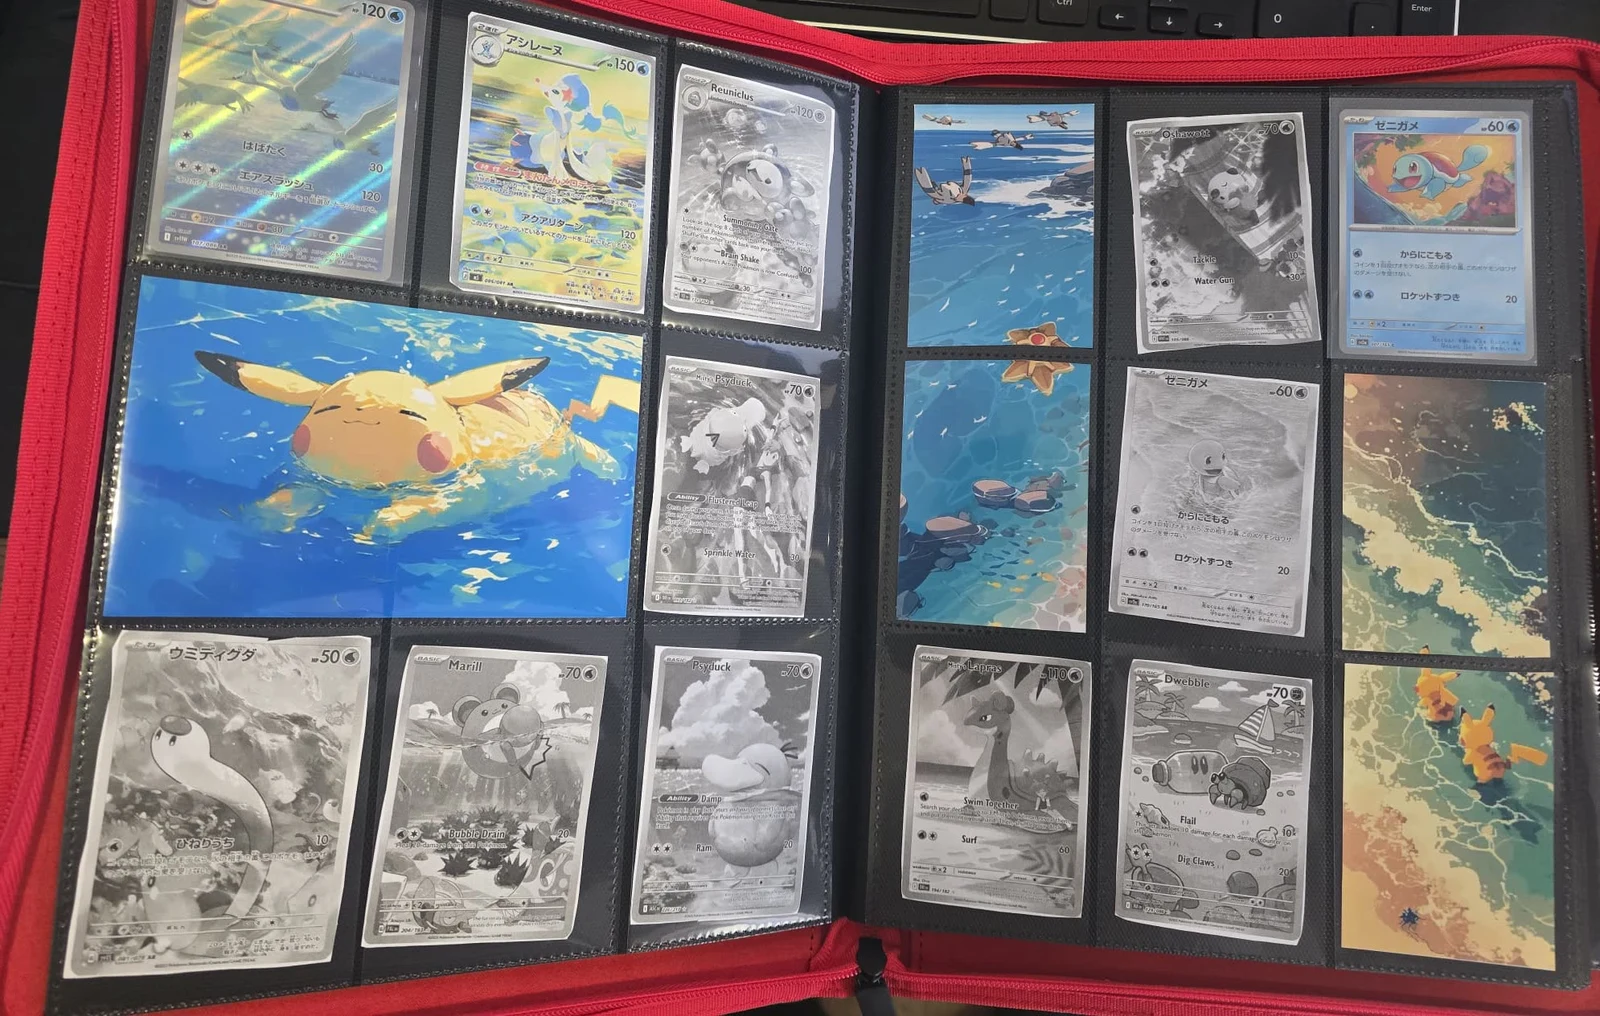
- Michi-style showcase pages. Give the chase cards a few pages of their own, built as compositions with art panels and space around them, using the Michi method. The rest of the set follows in number order.
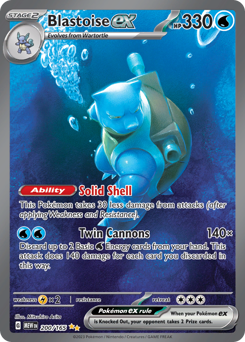
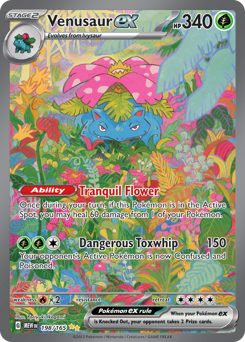
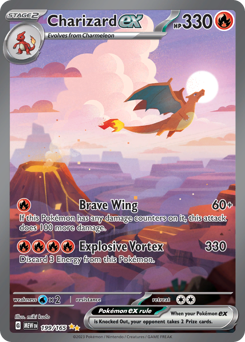
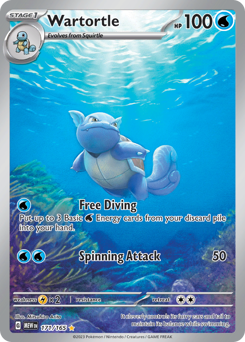
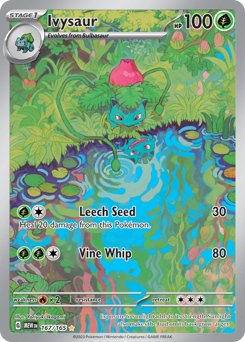
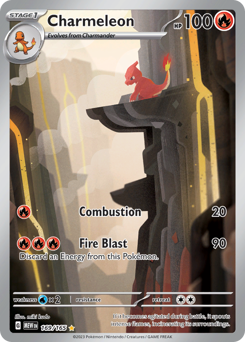
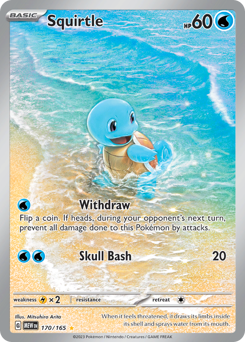
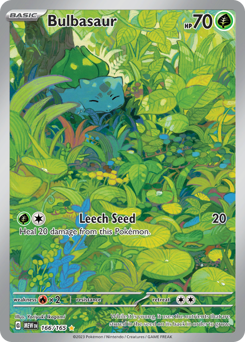
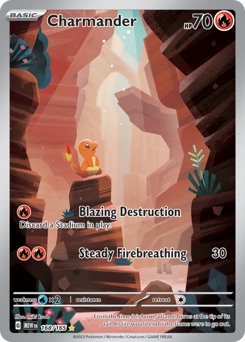
A full-arts-first page for 151: the three starter ex Special Illustration Rares on top, and each column follows its evolution line down through the Illustration Rares.
Moving the full arts doesn't change the card count, only the order. Showcase pages add pockets for art panels and empty space, so count them before you choose a binder.
Choose a binder with the right capacity
A typical 9-pocket binder has 20 double-sided pages and holds 360 cards. Side-loading pockets are the safer choice for a set you will keep adding to: cards are less likely to slide out when the binder is opened or carried.
Check the capacity against your count. A set that needs more pockets than one binder has will not fit, however you lay it out, so plan the split before you start: main set in one binder and reverse holos in another, or one binder per era of the set. Keep a few spare pages for a large set; corrections are easier when you are not forced to shift every card after a missing one.
Fill the gaps with placeholders
A master set takes a long time, and a binder full of empty pockets is hard to read. A printed placeholder in each missing pocket keeps every card in its place, so nothing moves when you finally find one. It also makes the binder a checklist: anything printed is something you still need.
Pokébinder (pokebinder.xyz) can lay out ten popular sets in number order for you. Open a set page, choose the main or complete set, and use Open in my binder to load it with every card marked as missing. Then tick the cards you own and print only the ones you still need.
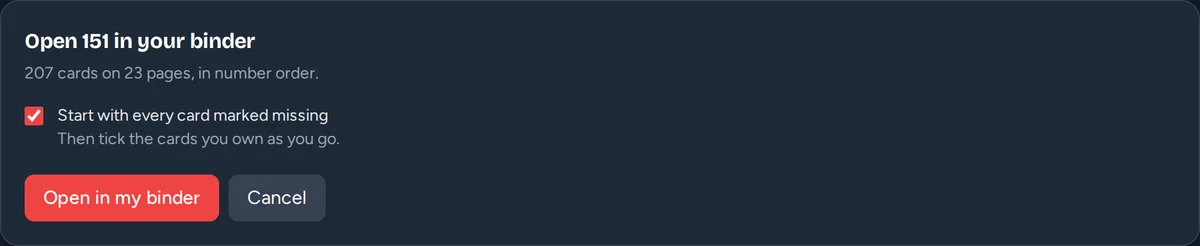
Pokébinder's set pages do not include reverse holos yet, so for a full master set, add the reverse holo pockets to your plan yourself. Missing marks are kept per card, so a regular card and its reverse holo share one.
The placeholder printing guide covers sizes, print settings and paper.
Sources
More guides

Printing · 6 min read
How to Print Pokémon Placeholder Cards That Fit
Print Pokémon placeholder cards at true size, 63 × 88 mm: the settings, paper and cuts that fit a 9-pocket page, and how to print only the missing ones.
Michi method · 8 min read
Michi Method Pokémon Binder: A Practical Guide
Learn how to plan a Michi method Pokémon binder page with hero cards, art panels, and intentional empty space before you print.
Nothing to install
Start with one page.
Search a card, drop it in a pocket, and see what the page wants to be.
Start building